Documentation
PSG1 User Guide
Everything you need to know — from placing your order to playing your first game.
Purchase
From placing your order to securing your Proof of Purchase NFT.
Head to playsolana.com/products, choose your edition, and click Buy Now. You'll be taken to checkout where you can pay with a card or crypto.
- Select your edition and colour
- Pay with card or $PLAY (15% off)
- You'll receive an order confirmation email immediately after
You can claim your Proof of Purchase NFT in two ways — pick whichever is handier. Connect your Solana wallet to mint it, then keep it safe: you'll burn it to claim your PSG1 Genesis Soulbound once your device arrives.
As soon as you pay, the order confirmation screen shows a “Claim Proof of Purchase NFT” button. Connect your Solana wallet to mint it to your wallet right away.
Prefer to do it later? The same “Claim Proof of Purchase NFT” link lands in your order confirmation email — claim any time straight from your inbox.
Delivery
When your PSG1 arrives home — pick a path: set up the console, claim your Genesis Soulbound, or set up Jupiter with Svalguard.
Press and hold the Power button on the right edge until the screen lights up and your PSG1 boots into EchOS.
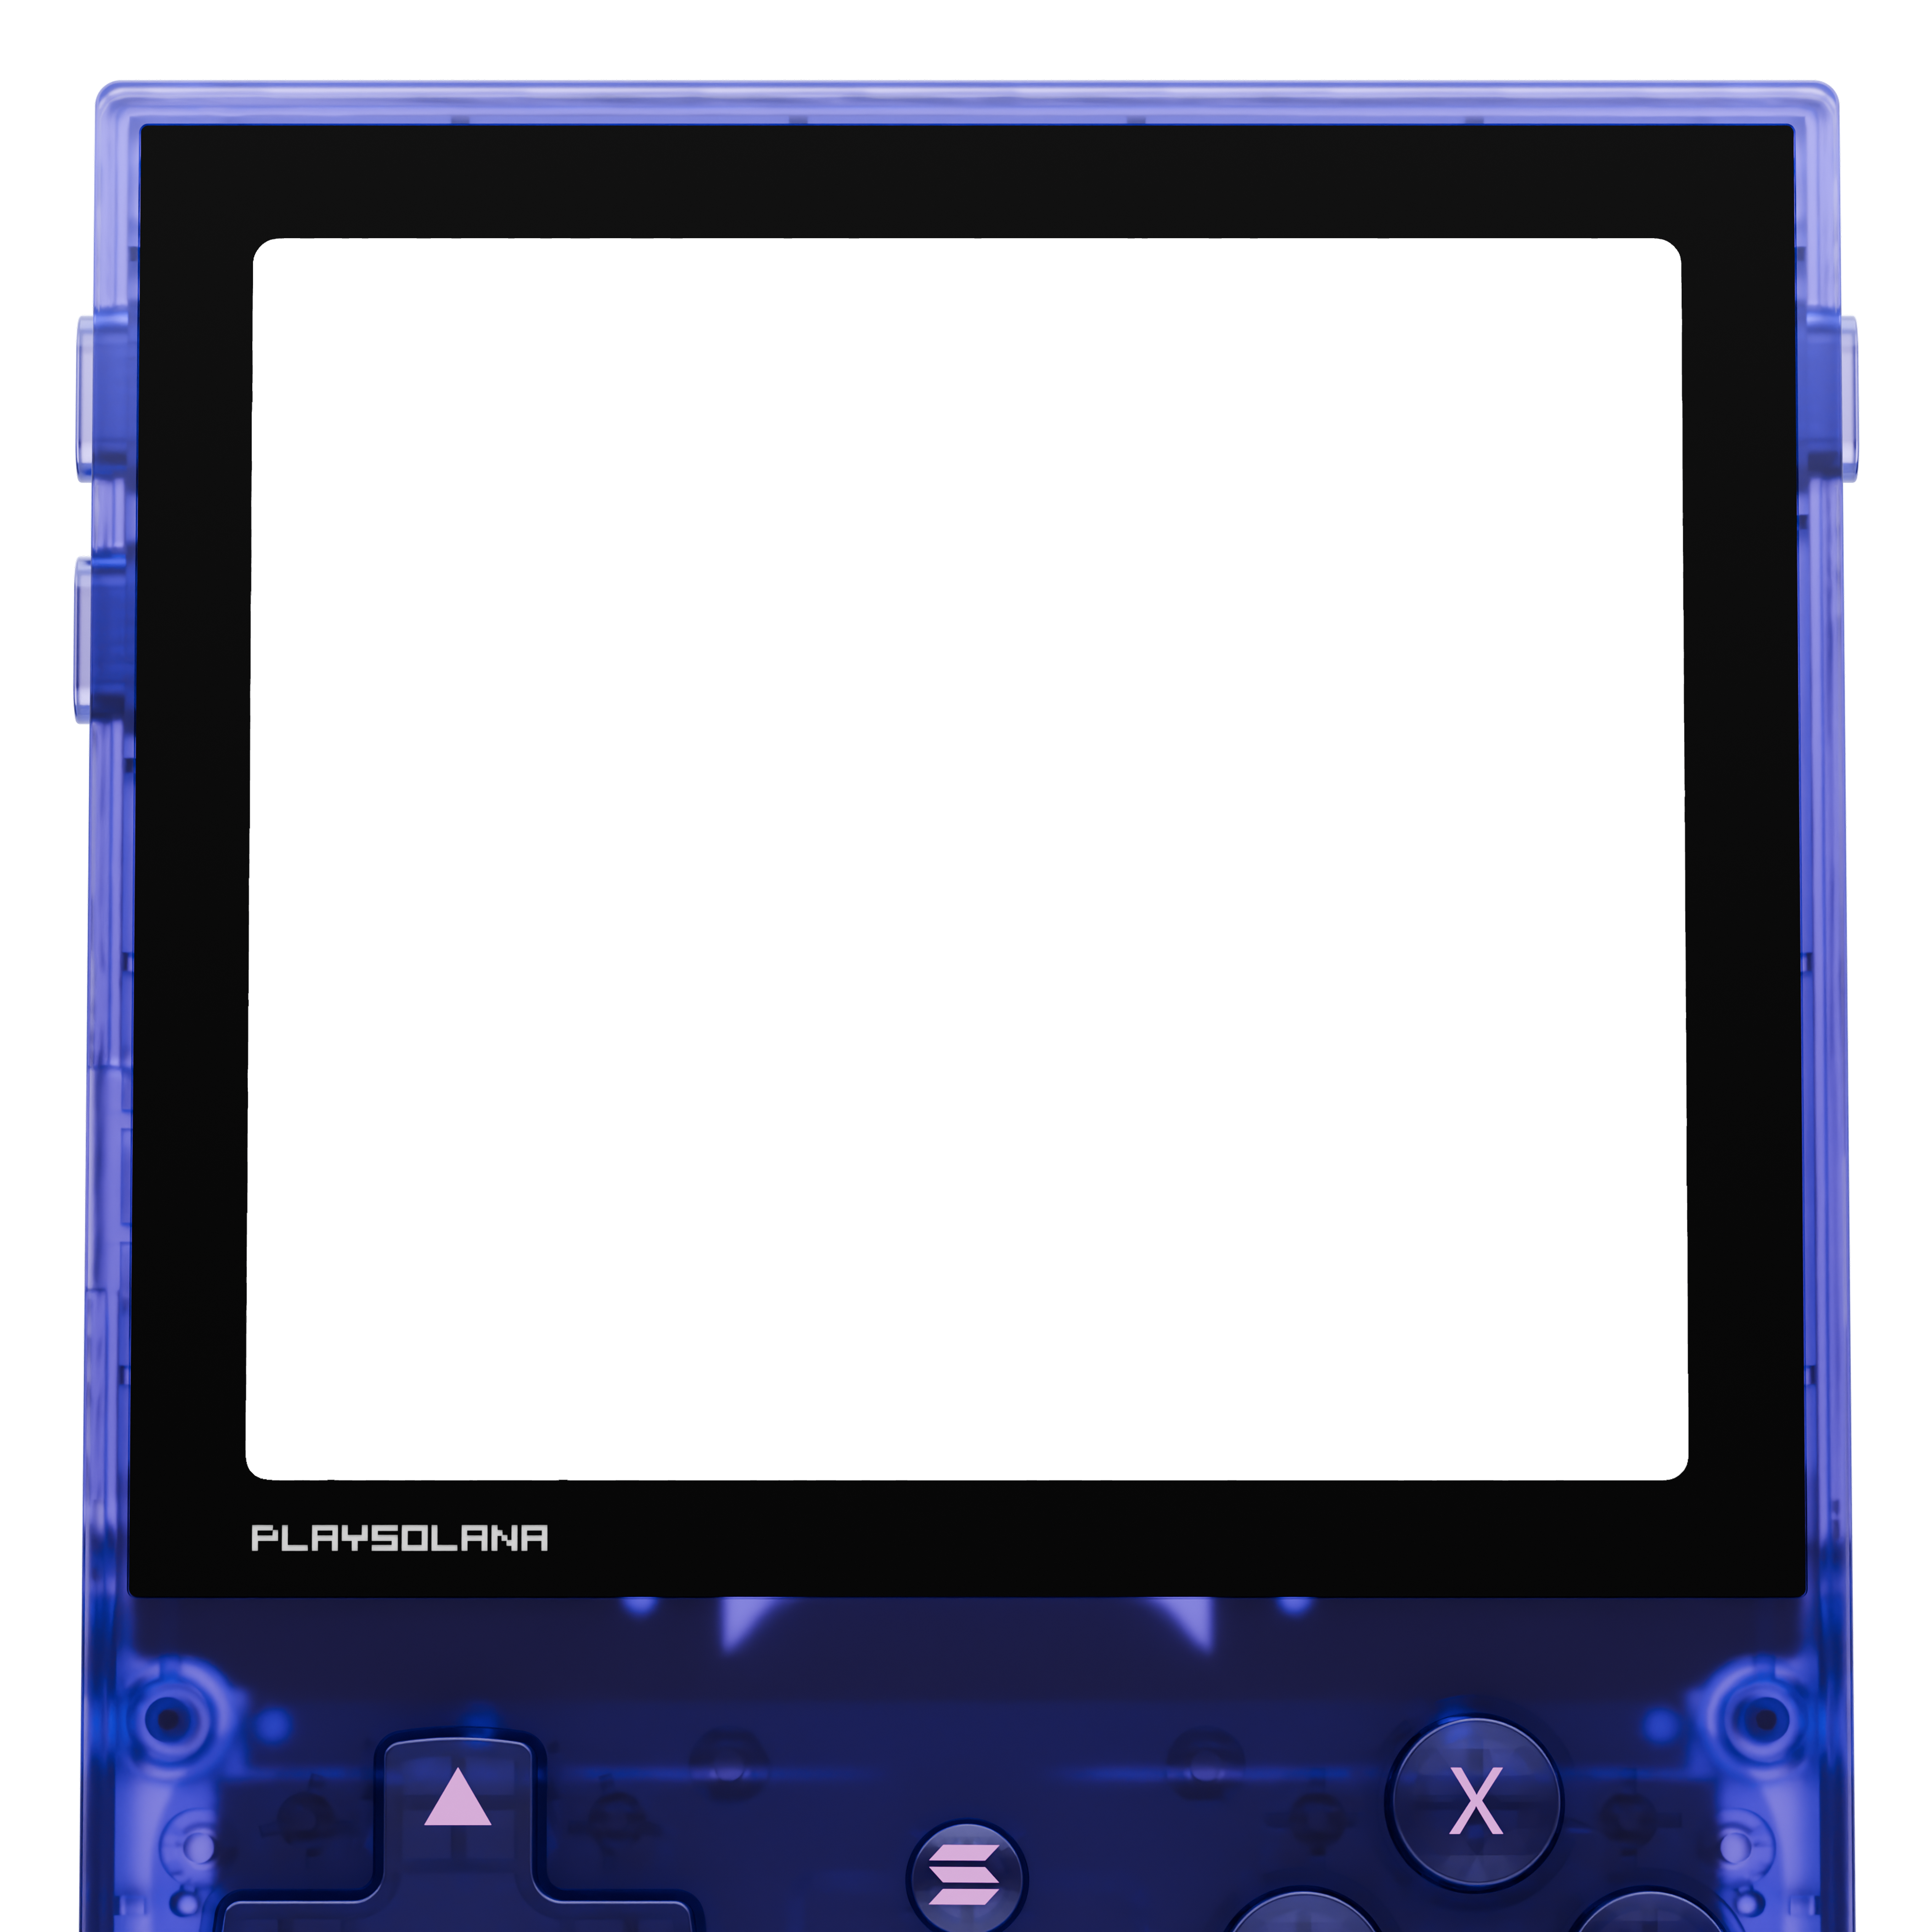
Hold the Power button (right edge) for about 3 seconds until the boot animation appears.
On first boot you're greeted by the Welcome screen.
Pick your preferred language from the selector, then tap Get Started to begin.
Before continuing, the wizard asks you to review the Play Solana Terms & Conditions.
Read the Play Solana Terms & Conditions and accept them to continue the setup.
Connect your PSG1 to Wi-Fi so it can update and reach the Play Solana ecosystem.
Pick your network and enter the password. The device then checks for Android + firmware updates.
After "Getting your PSG1 ready…", the device downloads and installs the latest Android + firmware update. This can take a few minutes.
Keep the device powered while it gets everything ready.
- If there's a considerable system update, the PSG1 reboots to finish installing
- After the reboot it picks up the wizard right where you left off
Secure your PSG1 — the wizard asks you to choose a screen lock.
Pick PIN • Fingerprint (recommended). You'll then set a PIN and scan your fingerprint to secure the device.
Add your fingerprint for quick, secure unlocking and on-chain confirmations.
Place your finger on the rear sensor and lift repeatedly until the scan completes.
Svalguard is your PSG1's built-in, hardware-secured wallet. The wizard walks you through creating it end to end.
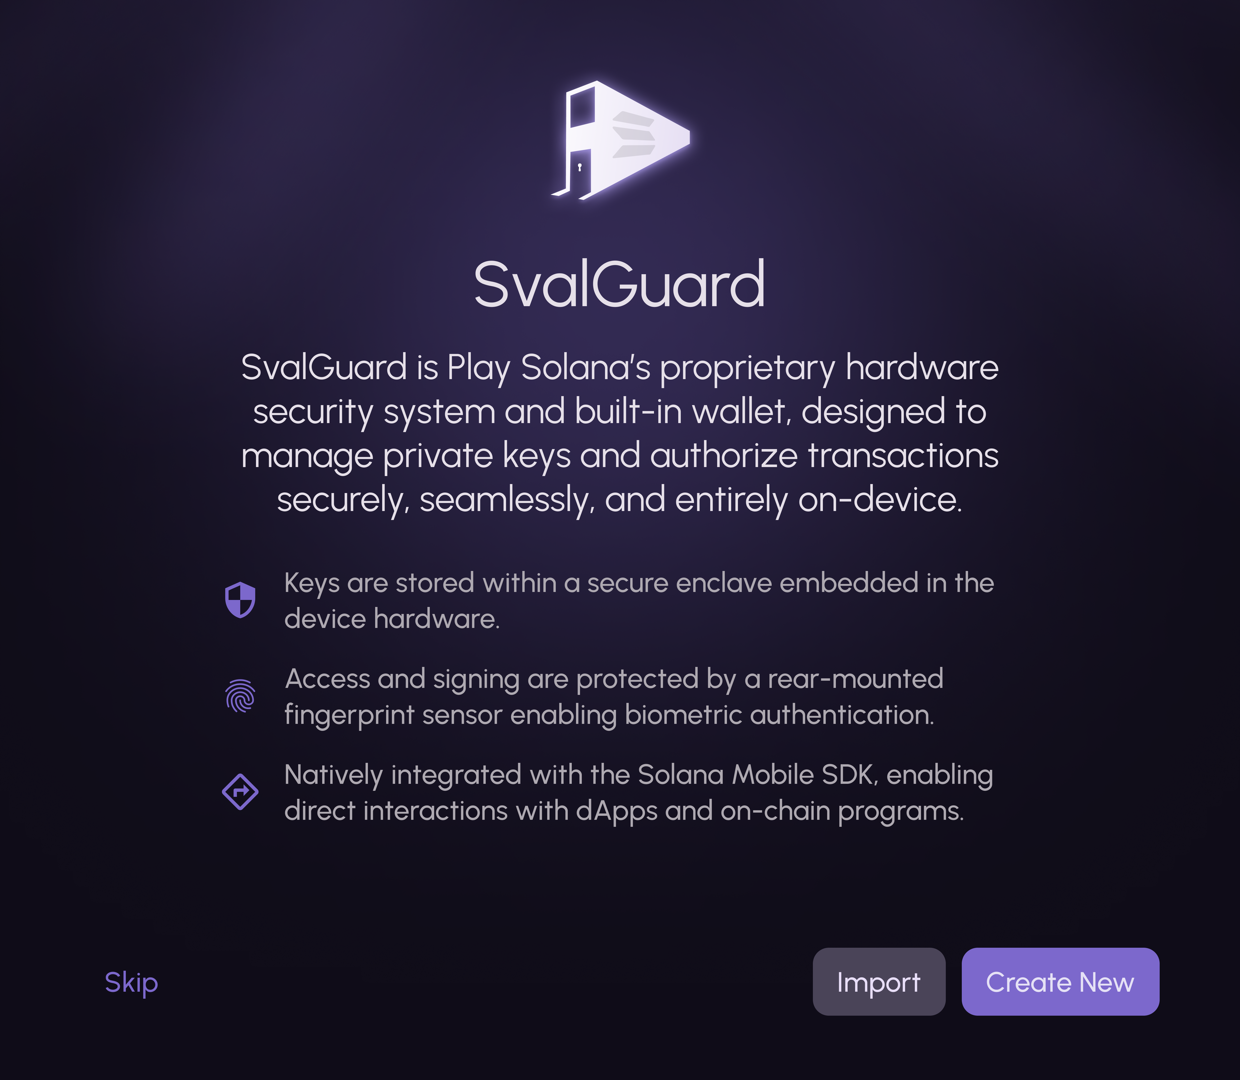
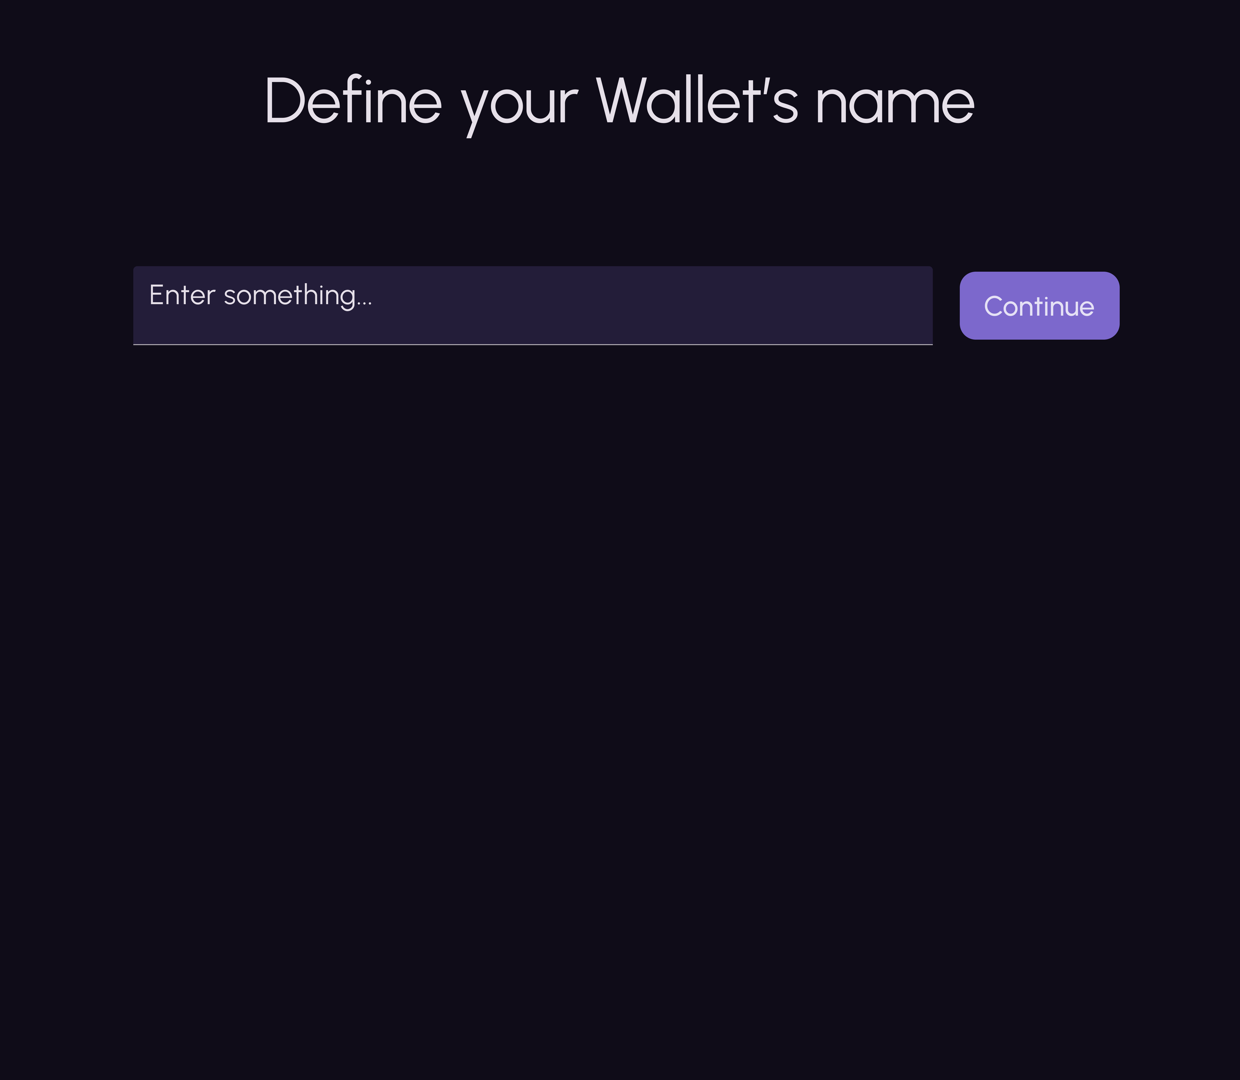
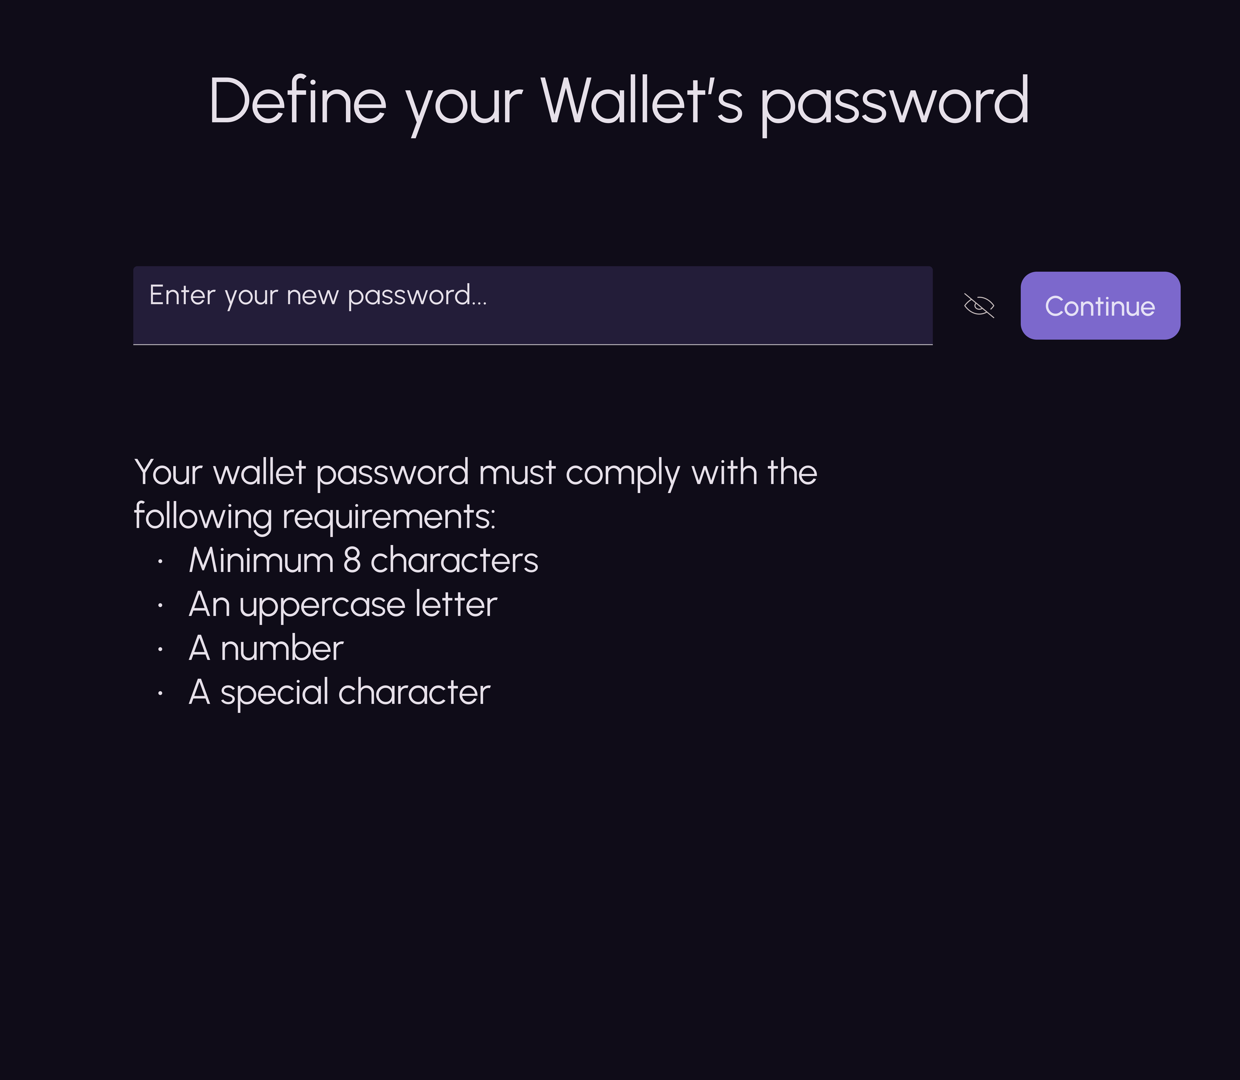
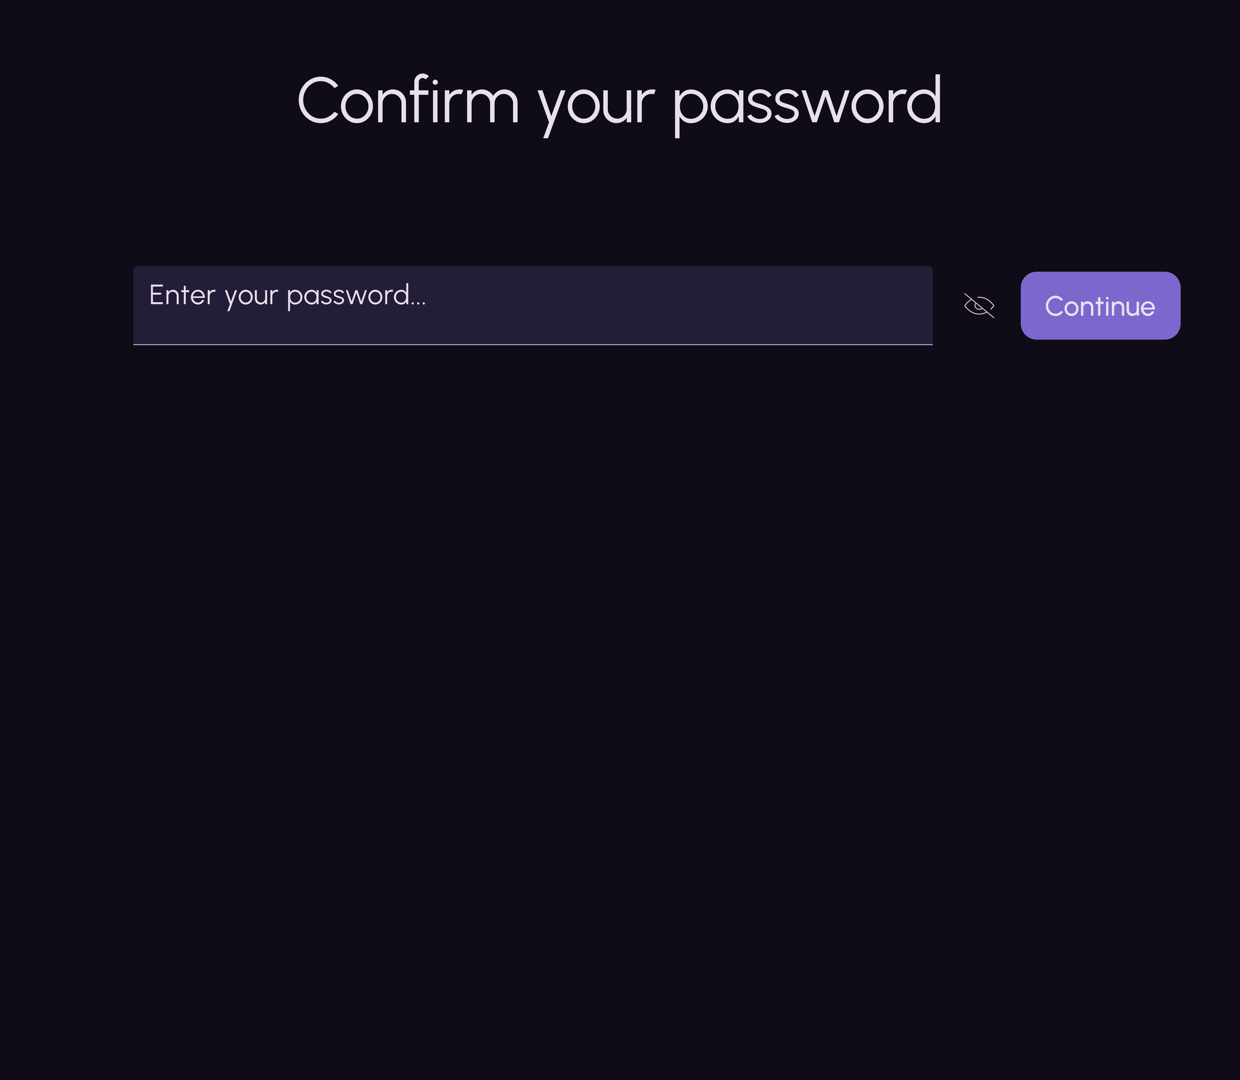
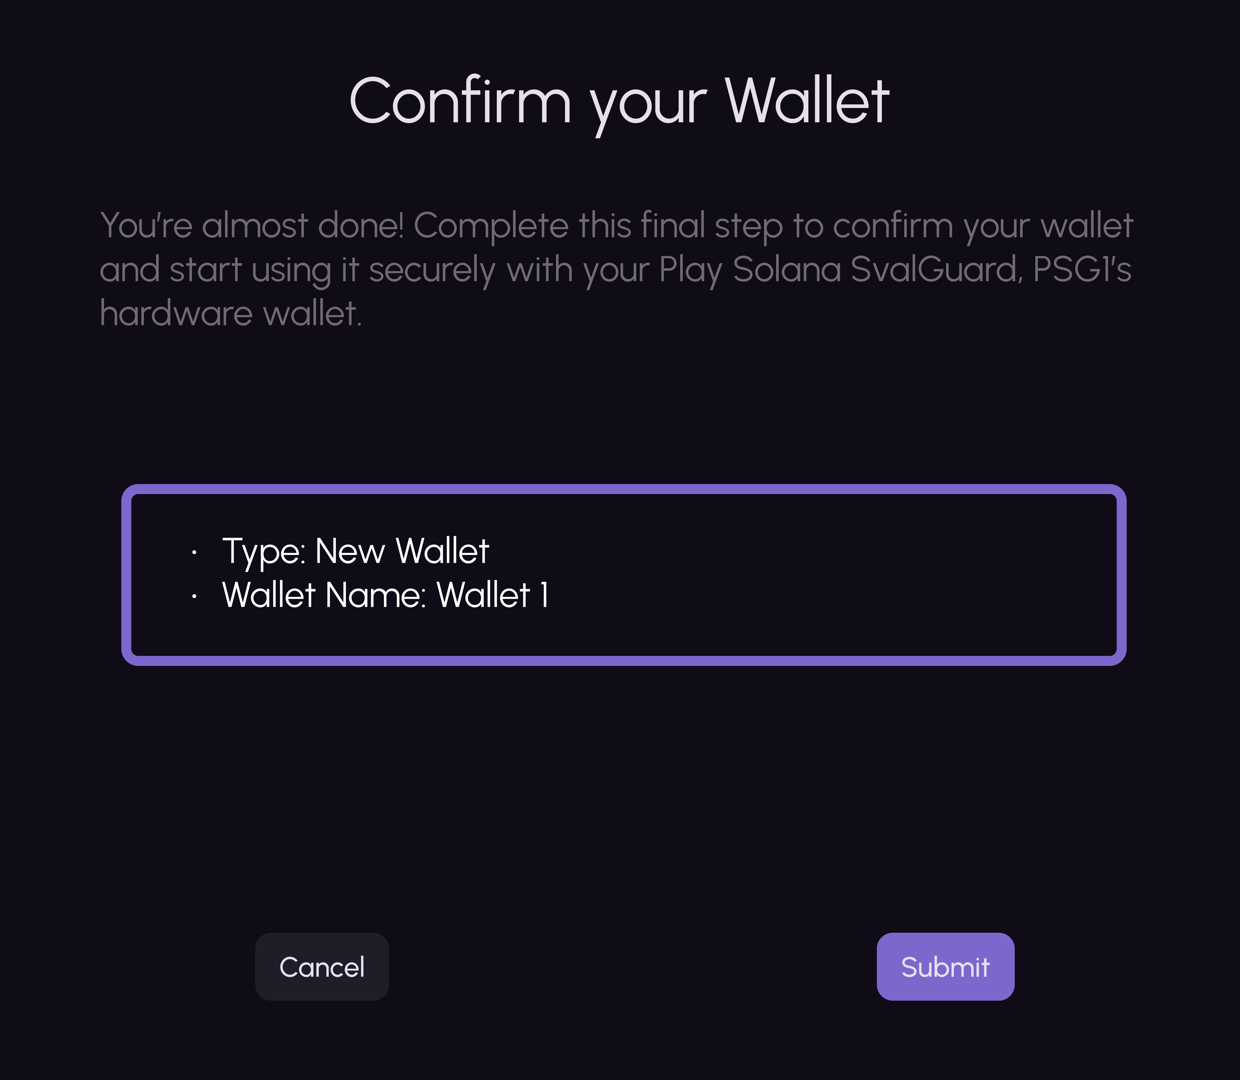
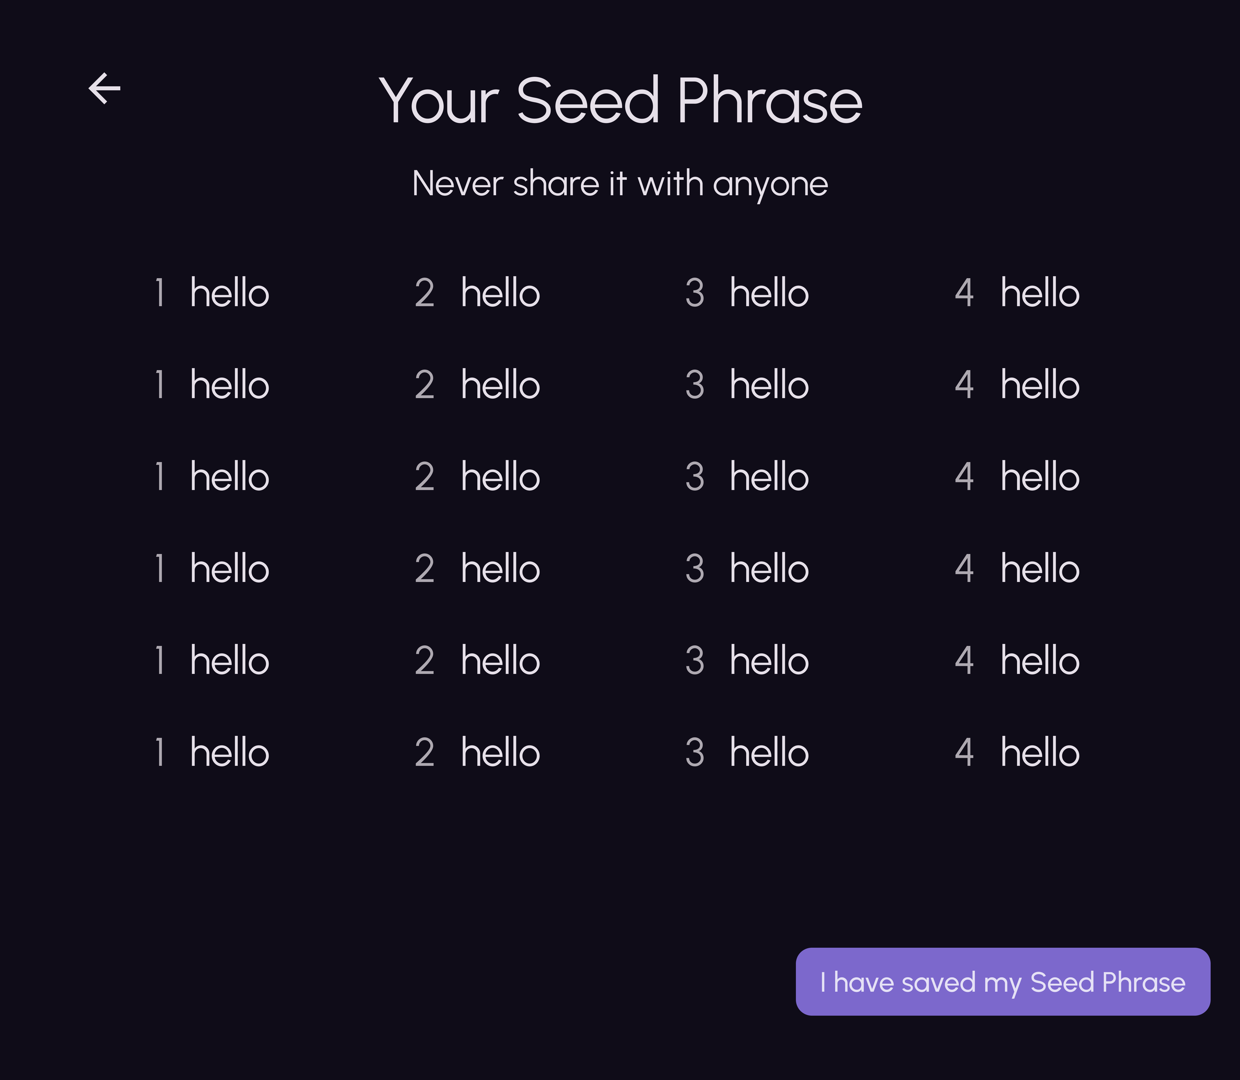
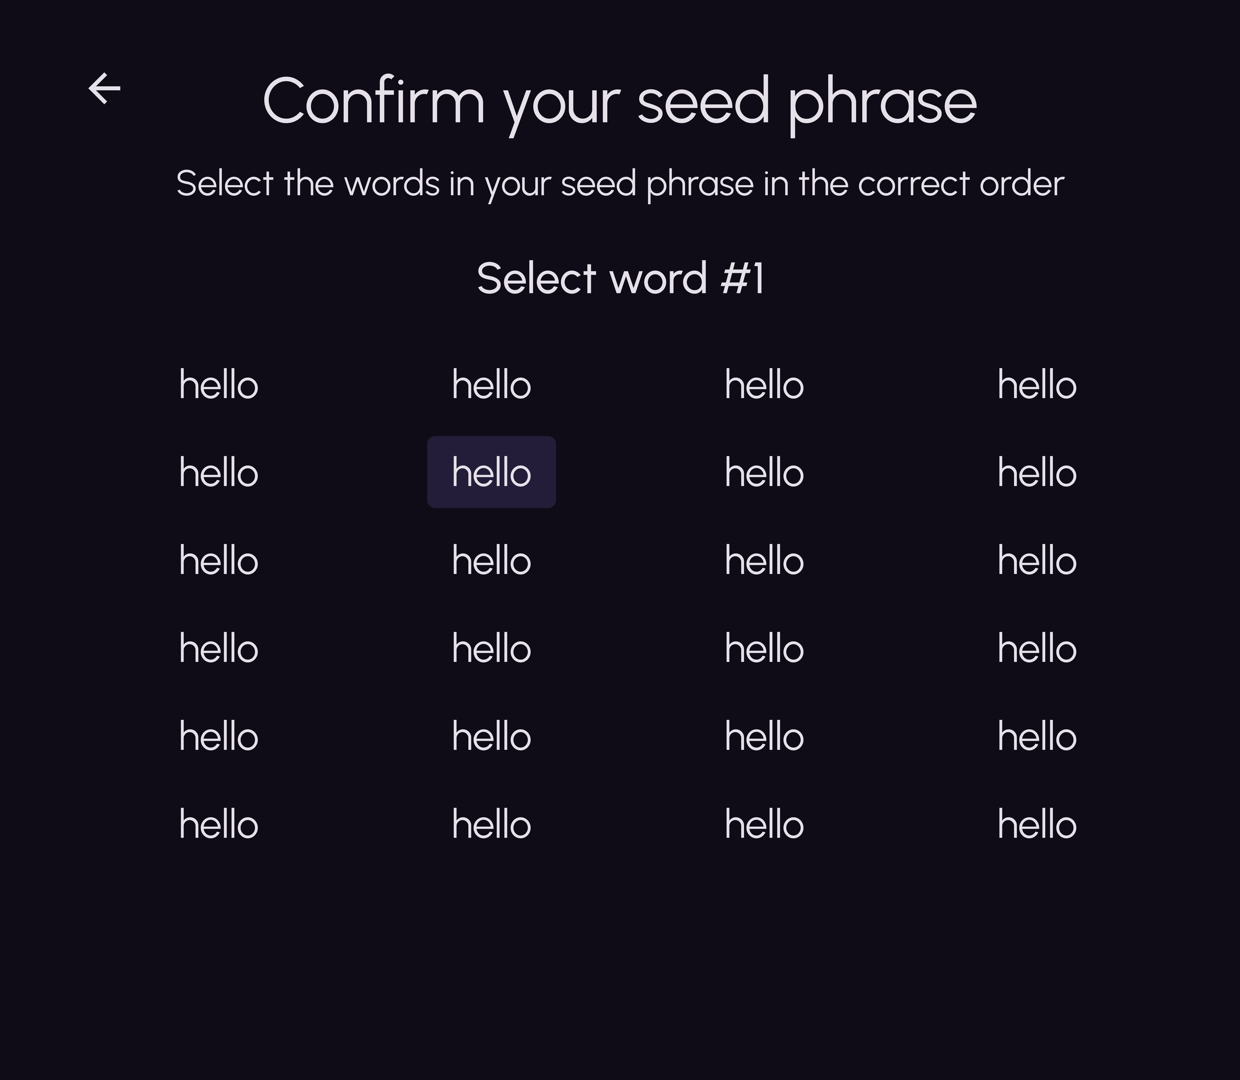
Tap Create New, then follow the screens:
- Name your wallet
- Set a wallet password (8+ chars, with an uppercase, a number and a special character) and confirm it
- Write your Seed Phrase on the included Seed Phrase Card — never share or photograph it
- Confirm the seed phrase in the right order to finish
That's it — the wizard wraps up and your PSG1 is ready to play.
Your PSG1 is configured and your Svalguard wallet is ready. Before you dive in, get everything up to date:
- Open the PlayVerse Store and update everything that's available
- Most importantly, keep EchOS — your PSG1's custom operating system — up to date for the latest features, games and fixes
- Then jump into games, apps and the Play Solana ecosystem